 Plushify
Plushify can help you make plushies of any size, from the smallest to the very biggest. The size utility help you find the perfect size for your plushie. To set the size of your plushie, click on the "Size" section on the left of the plushie page.
Setting the Plushie size
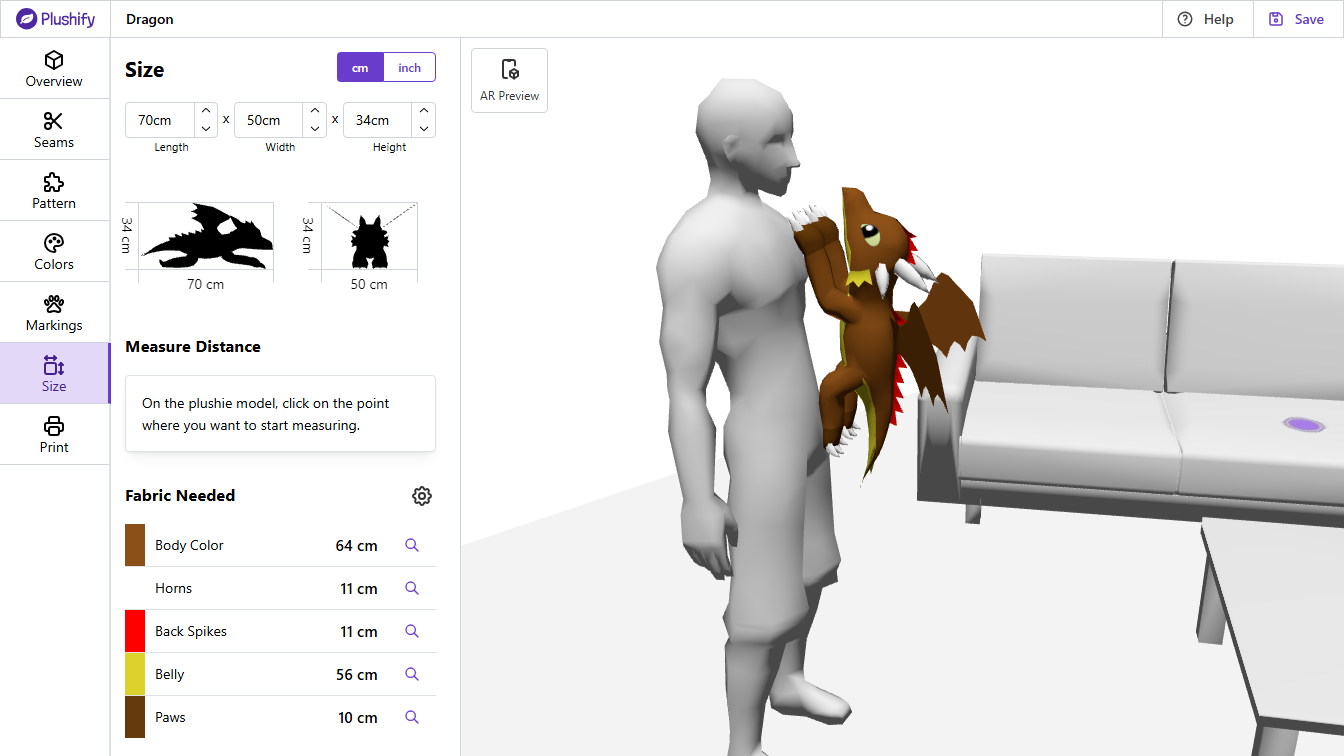
At the top of the info panel on the left, you see the three dimensions of the plushie: Length, Width and Height. Click on any of the input fields to change them. They are linked, so if you increase the length, the width and height will automatically be adjusted, too.
In addition to the numerical values of length, width and height, in the 3D preview you see the plushie next to a human model. This is to help you better visualize the size of the plushie. The human model size is assumed to be 180cm and the plushie is scaled according to your input of length, width and height.
You can also navigate the 3D scene with the usual mouse controls (rotate via click and drag, zoom via mouse wheel and move via middle mouse button). In the 3D scene you find different furniture pieces with markers. Clicking on any marker places the plushie on that furniture piece. This helps you visualize the size of the plushie in different scenarios.
In the top left corner of the 3D scene you find an AR Preview button. Using your phone or a VR headset you can see an augmented reality preview of the plushie so you can visualize its size in your local environment. This is an experimental feature and might not be supported by all devices.
Measuring distance between two points of the plushie
You can measure the distance between two points on the same pattern piece. This way you can get exact sizes or distances between markings and other features which can be useful for creating embroidery or applique details.
To measure distance, on the plushie model, click on the point where you want to start measuring. Then, move the mouse to the end point of your measure. Both start and end point need to be on the same pattern piece.
You can stop the measurement by clicking on the end point. The distance between the two points is rendered both on the model and displayed in the info panel on the left. There you can also click, "Clear" to start a new measurement.
Fabric Requirement Calculation
The bigger the plushie is, the more fabric you need to make it. At the bottom of the info panel you see how much fabric of every color you need to make the plushie in the specified size.
You can click the gear icon next to the "Fabric Needed" header to open additional settings that allow you to specify the fabric width as well as the seam allowance. Both have an effect on the amount of fabric that is needed. The seam allowance is also used in the printout of the pattern.
To better understand how the displayed amount is calculated, you can inspect the generated cutting layout by clicking the magnifying glass icon. This opens a dialog with a suggested layout how all pieces of the plushie in the selected color could be arranged on the sheet of fabric.
With the size set, your plushie is ready to be made. The only thing left is to print the pattern and to get sewing. The next chapter describes how to create the pattern optimized for your printer and how to read the pattern.
Next chapter: Printing the Pattern